
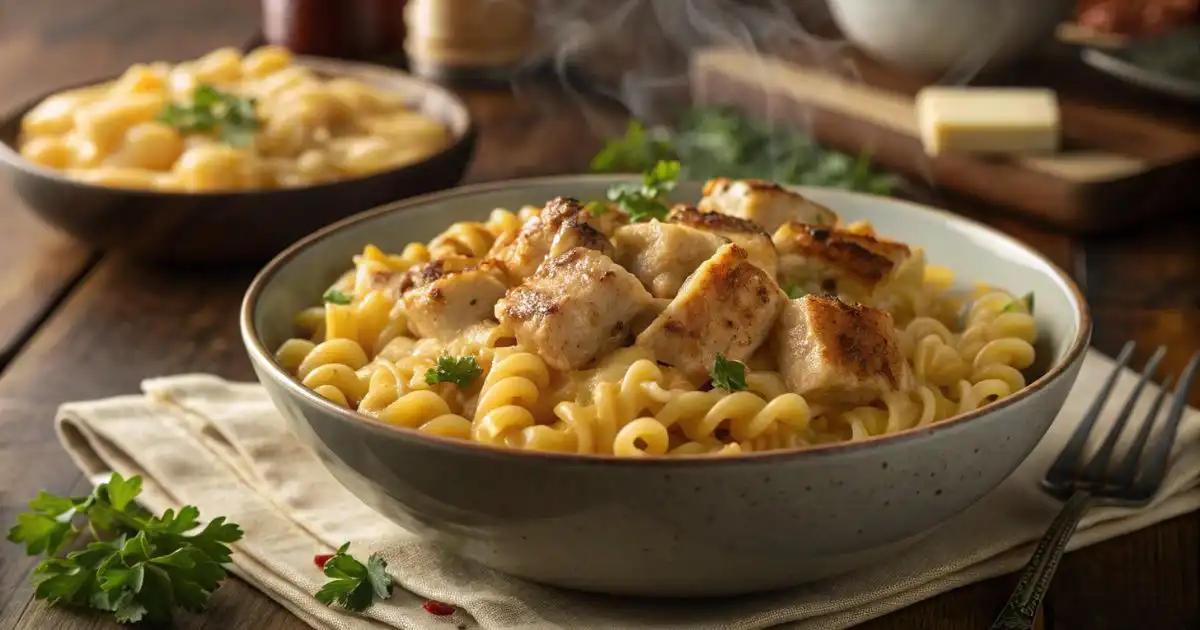
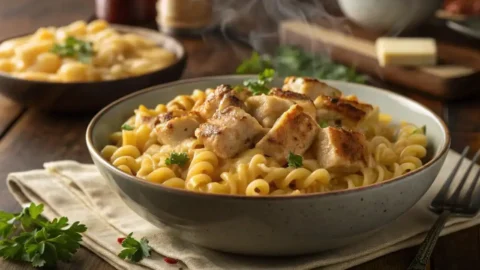
Creamy Chicken Mac and Cheese (Easy 30-Minute Dinner)
There are comfort foods, and then there are comfort foods that actually feed you. Classic macaroni and cheese has earned its legendary status on dinner tables across generations, but let’s be honest. On its own, it moonlights as a side dish masquerading as a meal. The moment you fold in golden, well-seasoned, tender poultry, everything changes.
Chicken mac and cheese is the upgrade your weeknight routine has been desperately craving. It’s the dish that silences a table full of picky eaters, satisfies post-gym hunger, and still manages to feel indulgent enough for a Friday night wind-down. This isn’t just pasta with protein thrown on top; it’s a deliberately constructed, cheese-forward entrée where every component earns its place in the bowl.
In this ultimate guide to easy chicken macaroni and cheese, we’re breaking down the best chicken prep methods, walking through a foolproof stovetop technique, and giving you three flavor-bomb variations that’ll keep this recipe in heavy rotation. Whether you’re starting from scratch on a Tuesday or leveraging a grocery store shortcut, this guide covers every path to the creamiest, most satisfying mac and cheese with chicken you’ve ever pulled off at home.
Table of Contents
Chicken Prep Methods: Which Should You Use?
Not all chicken arrives at your saucepan equal. The prep method you choose dramatically shapes the final texture, depth of flavor, and total time commitment of your stovetop chicken mac. Use this comparison to match your weeknight reality with the right approach.
Chicken Prep Methods: Which Should You Use?
| The Method | Time Required | Flavor & Texture Profile |
| Rotisserie Chicken | 0 min (pre-cooked) | Deeply savory, smoky, and fall-apart tender. The seasoned skin drippings add extra complexity when folded into the sauce. Best for: busy nights, maximum flavor, minimum effort. |
| Pan-Seared Chicken Breast | 15–18 min | Lean, clean-flavored, and satisfying with a golden caramelized crust. Allows full seasoning control. Best for: meal-prep, high-protein targets, and those who want a fresher finish. |
| Crispy Fried Chicken Tenders | 20–25 min | Indulgent, texturally contrasting, and crowd-pleasing. The crispy exterior softens slightly in the sauce, creating a rich, coating-infused bite. Best for: weekend comfort mode, feeding teenagers, or a decadent date-night spin. |
EssenceCheese Pro Tip: If you’re going the rotisserie route, pull the meat while it’s still warm; it shreds more easily and absorbs the cheese sauce far better than cold, refrigerated leftovers.
The Grocery List (What You Need)
Great chicken mac and cheese lives and dies by the quality of its components. Here’s exactly what to grab before you fire up the stove.
The Poultry
- 1 lb boneless, skinless chicken breasts: or substitute with the equivalent weight of pre-pulled rotisserie meat for a shredded rotisserie shortcut that saves 15 minutes without sacrificing a single point of flavor.
The Pasta Base
- 12 oz cavatappi or elbow macaroni: Cavatappi (the corkscrew-shaped tube) is the superior choice here. Its hollow spiral traps the cheese sauce inside each individual piece, delivering a more loaded bite than flat pasta ever could.
The Dairy Foundation
- 3 tablespoons unsalted butter
- 3 tablespoons all-purpose flour
- 2 cups whole milk: Full-fat is non-negotiable. Low-fat alternatives break the emulsion and produce a thin, grainy sauce.
- ½ cup heavy cream: Just a splash transforms the sauce from “good” to “restaurant-worthy.”
The Cheese Blend
- 1½ cups freshly grated Sharp Cheddar: Buy the block and grate it yourself. Pre-shredded bags contain anti-caking agents (usually potato starch or cellulose) that actively prevent smooth melting and introduce a gritty texture to your sauce.
- ¾ cup freshly grated Gruyère: This is the secret weapon. Gruyère brings a subtly nutty, almost caramelized depth that sharp cheddar alone simply cannot replicate. It melts into an impossibly silky ribbon, which is precisely why it’s a staple in professional kitchen cheese sauces.
The Spice Rack
- 1 tsp garlic powder
- ½ tsp smoked paprika (not sweet, smoked makes all the difference)
- ½ tsp kosher salt, plus more for the pasta water
- ¼ tsp freshly cracked black pepper
- Pinch of dry mustard powder (optional but recommended, it heightens the cheese’s sharpness)
Step-by-Step Stovetop Instructions
This method is designed to produce a glossy, cling-worthy cheese sauce that never breaks, even when reheated. Follow each step in sequence for guaranteed results.
Step 1: Sear the Poultry to a Golden Crust
Pat your chicken breasts completely dry with paper towels; moisture is the enemy of a proper sear. Season generously on both sides with garlic powder, smoked paprika, salt, and pepper.
Heat a cast-iron or stainless-steel skillet over medium-high until a drop of water dances across the surface. Add a tablespoon of neutral oil, then lay the chicken down away from you. Do not touch it for 5–6 minutes. Let the Maillard reaction do its work, building a deep golden crust that locks in juice. Flip once, cook another 4–5 minutes, then transfer to a cutting board to rest for 5 full minutes before dicing. Skip this step entirely if using rotisserie meat.
Step 2: Cook the Pasta Just Shy of Al Dente
Bring a generously salted pot of water to a rolling boil; it should taste like seasoned broth, not tap water. Drop in your cavatappi or elbow macaroni and pull it two minutes before the package’s suggested cooking time. The pasta will finish in the sauce, absorbing flavor as it reaches its final texture. Drain and set aside, reserving ½ cup of starchy pasta water.
Step 3: Build the Velvety Dairy Emulsion
In a wide, heavy-bottomed saucepan over medium heat, melt the butter until it just begins to foam. Whisk in the flour all at once and stir constantly for 90 seconds, you’re cooking out the raw flour taste and building your roux foundation.
Slowly stream in the whole milk, whisking aggressively to prevent lumps from forming. Add the heavy cream and continue whisking until the mixture thickens enough to coat the back of a spoon (about 4–5 minutes).
Here is the single most important technique in this entire recipe: Remove the saucepan completely from the heat before adding your cheese. High heat is the primary cause of a broken, grainy sauce. With the burner off, fold in the Sharp Cheddar and Gruyère in three small batches, stirring in slow, deliberate circles until each addition disappears into a molten, glossy pool. Season with salt, pepper, and mustard powder.
Step 4: The Final Toss
Add the drained pasta directly into the cheese sauce and fold gently until every curve and cavity is thoroughly coated. Introduce your diced or shredded chicken, folding again to distribute evenly. If the sauce feels too thick, loosen it with a splash of the reserved pasta water, and add it one tablespoon at a time until you hit your preferred consistency.
Serve immediately in warmed bowls. This is a self-sufficient entrée, no side dish required.
3 Epic Flavor Variations (Buffalo, BBQ, & Broccoli)
Once you’ve mastered the base recipe, these variations take your easy chicken macaroni and cheese into entirely new flavor territories.
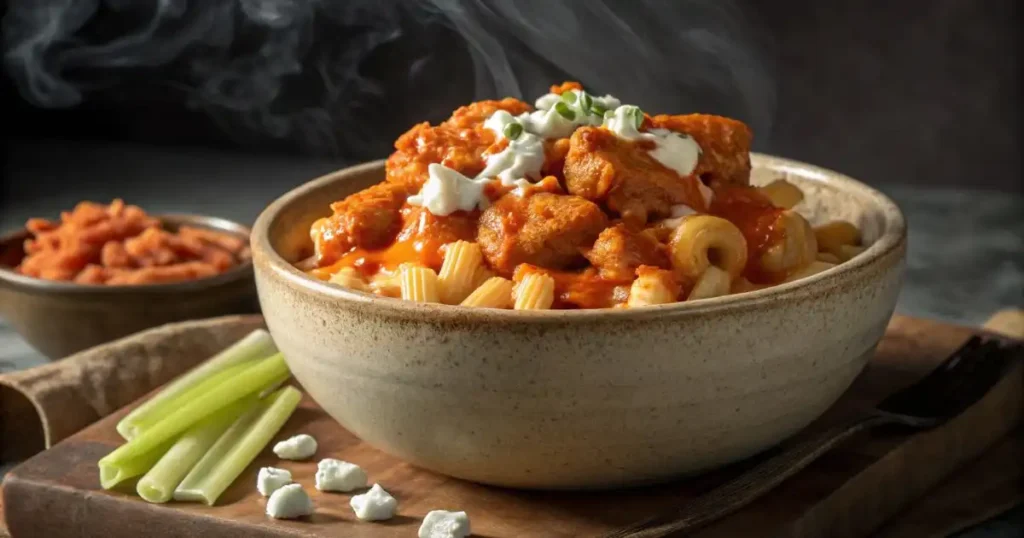
1. Buffalo Chicken Mac
Toss your pan-seared or shredded chicken in 3–4 tablespoons of your favorite buffalo hot sauce before folding it into the cheese sauce. The heat cuts through the richness of the dairy in an incredibly satisfying way. Finish with a drizzle of cool ranch or blue cheese dressing directly over each bowl, and scatter crumbled blue cheese and thinly sliced celery on top for textural contrast.
2. BBQ Bacon Chicken Mac
Before dicing the chicken, brush it with sweet, smoky BBQ sauce during the final minute of searing. While the pasta boils, render 4–5 strips of thick-cut bacon until genuinely crispy, then crumble them over the finished dish. A secondary drizzle of BBQ sauce right before serving adds a caramelized sweetness that plays beautifully against the sharpness of the cheddar.
3. The Green Machine
For a fiber-forward spin on mac and cheese with chicken, fold in a generous handful of roasted or lightly steamed broccoli florets during the final toss. Roasting is preferable; it concentrates the broccoli’s natural sugars and adds slight char notes that complement the nutty Gruyère. This variation is the one that gets vegetables into kids who swear they hate vegetables.
Storage and Reheating Rules
Chicken mac and cheese stores well but requires a thoughtful revival process to return it to its original creaminess.
Refrigeration: Transfer cooled leftovers to an airtight container and refrigerate for up to 3 days. The pasta will continue absorbing the sauce overnight, so expect a thicker consistency the next day, which is easily corrected.
The Stovetop Revival Method (Recommended): Spoon your leftovers into a saucepan over low heat. Add 2–3 tablespoons of whole milk per serving and stir continuously as the mixture warms. The dairy reactivates the emulsion, restoring that glossy, clingy consistency you achieved the night before. This takes about 4 minutes and is well worth the extra pan.
On the Microwave: We strongly advise against it. Microwave heat is uneven and aggressive; it dries out the chicken, causes the cheese sauce to separate into greasy pools, and turns your silky creation into a clumpy, rubbery disappointment. If you absolutely must use it, go at 50% power in 30-second intervals, stirring between each, with a damp paper towel draped over the bowl to trap steam.
Freezing: Technically possible for up to 2 months, but dairy-based sauces are prone to textural changes upon thawing. If freezing, undercook the pasta slightly and accept that a more vigorous stovetop revival will be needed.
Creamy Chicken Mac and Cheese (Easy 30-Minute Dinner)
Ingredients
Chicken
- 1 lb boneless skinless chicken breasts or rotisserie chicken
Pasta
- 12 oz cavatappi or elbow macaroni
Dairy Base
- 3 tbsp unsalted butter
- 3 tbsp all-purpose flour
- 2 cups whole milk
- 1/2 cup heavy cream
Cheese Blend
- 1 1/2 cups sharp cheddar cheese freshly grated
- 3/4 cup gruyère cheese freshly grated
Seasonings
- 1 tsp garlic powder
- 1/2 tsp smoked paprika
- 1/2 tsp kosher salt plus more for pasta water
- 1/4 tsp black pepper
- 1 pinch dry mustard powder optional
Instructions
- Pat chicken dry and season with garlic powder, smoked paprika, salt, and pepper. Sear in a hot skillet with oil for 5–6 minutes per side until golden and cooked through. Rest for 5 minutes, then dice or shred.
- Bring a large pot of salted water to a boil. Cook pasta until just shy of al dente, about 2 minutes less than package instructions. Drain and reserve 1/2 cup pasta water.
- In a saucepan, melt butter over medium heat. Whisk in flour and cook for 90 seconds. Slowly whisk in milk, then add cream. Cook until thickened, about 4–5 minutes.
- Remove saucepan from heat. Gradually stir in cheddar and gruyère cheese until fully melted and smooth. Season with salt, pepper, and mustard powder.
- Add cooked pasta to the cheese sauce and stir to coat. Fold in chicken. Add reserved pasta water as needed to loosen the sauce.
- Serve immediately while hot and creamy.
Notes
Frequently Asked Questions
Can I bake this instead of serving it on the stovetop?
Absolutely, and honestly, the baked version deserves its own occasion. After completing the Final Toss (Step 4), transfer the mixture to a greased 9×13-inch baking dish. Scatter a generous layer of panko breadcrumbs tossed in melted butter across the top, along with an extra handful of shredded cheddar. Bake at 375°F (190°C) for 15–20 minutes, or until the top develops a deeply golden, crackling crust. Finish under the broiler for 2 minutes if you want true golden-brown drama. The baked version is slightly denser and richer, ideal for dinner parties, potlucks, or Sunday meal prep.
Why did my cheese sauce turn clumpy or grainy?
The heat was too high when the dairy was introduced into the roux or when the cheese was added to the sauce. Proteins in cheese seize and tighten at high temperatures, causing them to separate from the fat and form the gritty, clumpy texture you’re describing. The fix is prevention: always remove the pan completely from the heat before folding in your cheese, and ensure your milk is warmed slightly (not cold from the fridge) before adding it to the roux. If it happens despite your best efforts, transfer the sauce to a blender with a tablespoon of warm cream and pulse briefly — it won’t be perfect, but it can usually be rescued.
Can I use different cheeses?
Yes, with a few guardrails. Fontina, Gouda, or Havarti are excellent Gruyère substitutes that melt smoothly. Avoid pre-processed cheese slices (they’re stabilizer-heavy) and avoid aged, hard cheeses like Parmesan or Pecorino as the base; they’re too low in moisture to melt into a sauce without seizing. A small handful of Parmesan as a finishing accent on top of the baked version, however, is always a brilliant idea.
How do I make this gluten-free?
Swap the all-purpose flour in the roux for sweet rice flour or a 1:1 gluten-free baking blend, and use certified gluten-free pasta. The sauce technique remains identical; sweet rice flour actually produces a remarkably smooth roux that some cooks prefer over wheat flour even outside of dietary restrictions.
Have you given our recipe a try ?
There are no reviews yet. Be the first one to write one.
Last Updated on March 29, 2026 by Janelle
